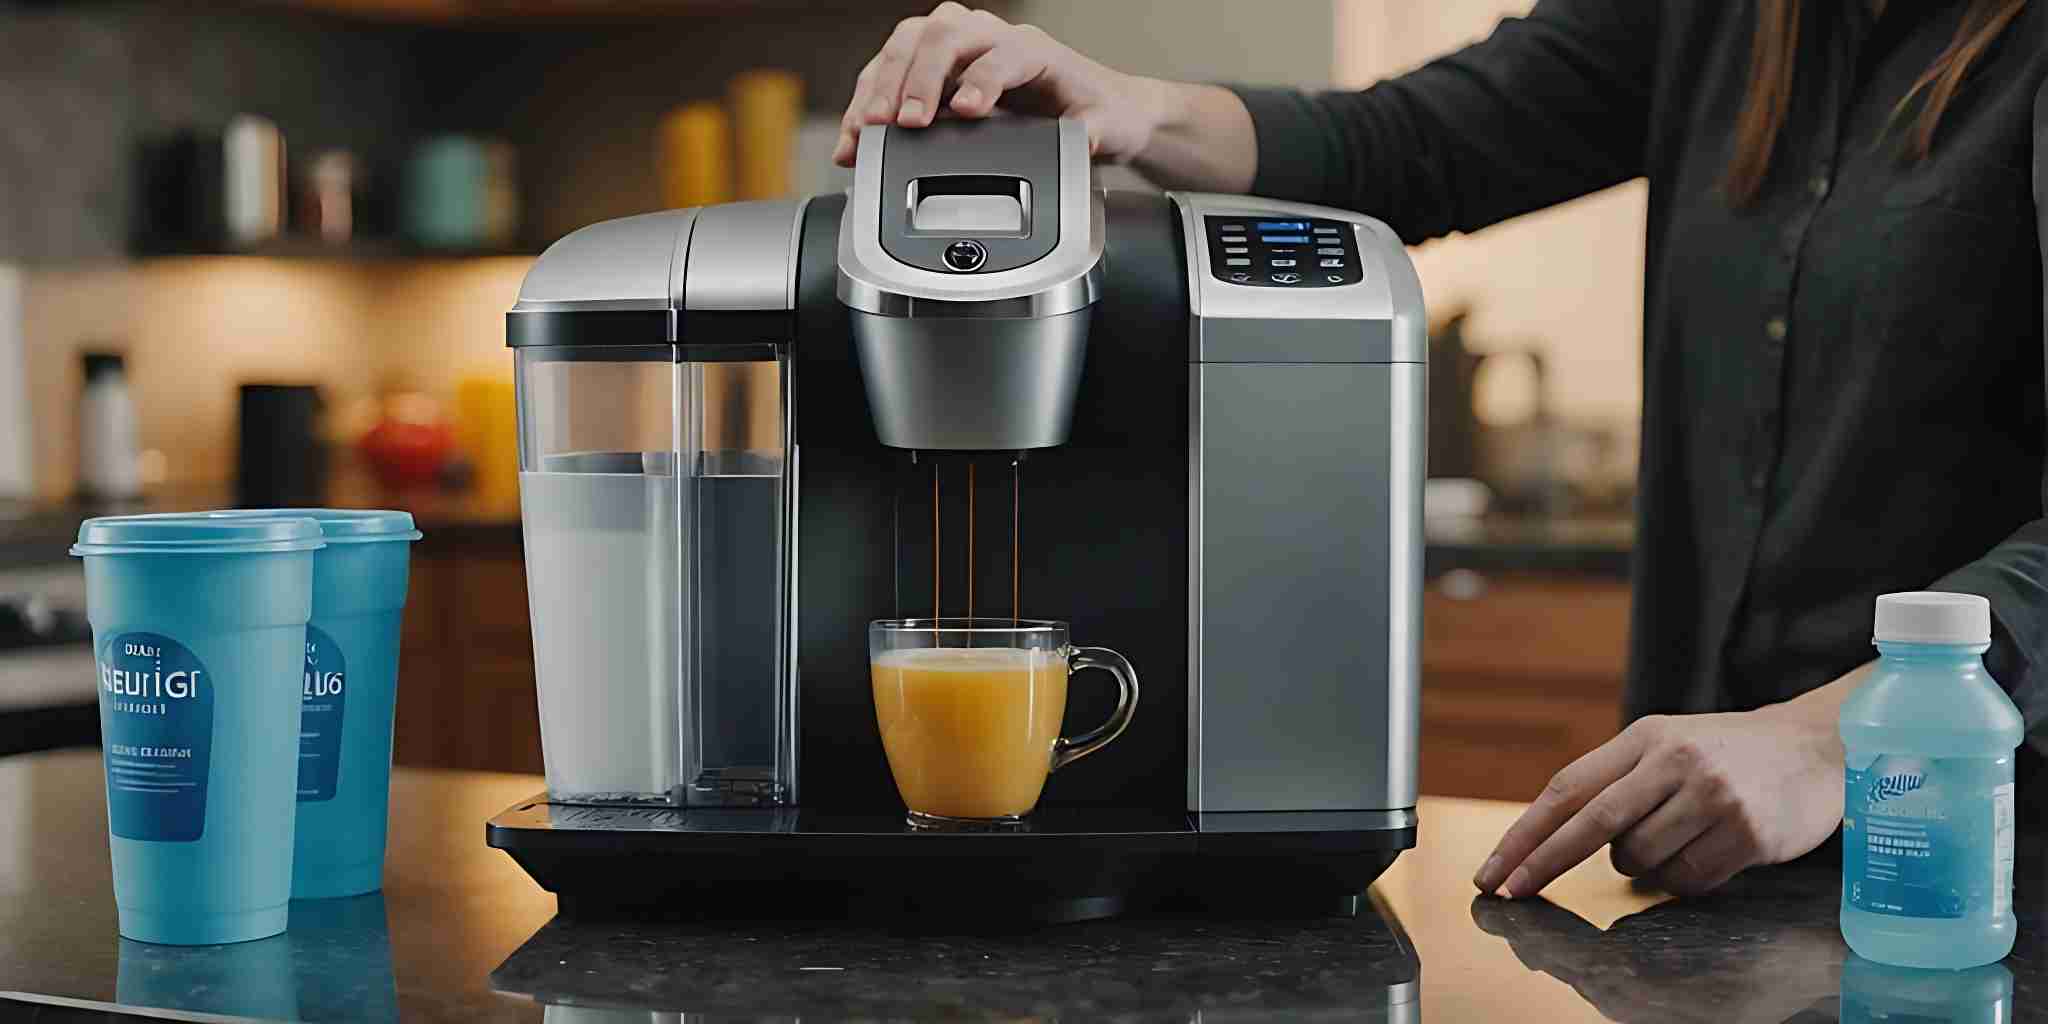
How to Perform a Keurig Descale Reset: A Step-by-Step Guide!
Keeping your Keurig clean is important for making great coffee and ensuring the machine lasts a long time. One key part of this is doing a descale reset. This guide will show you how to perform Keurig descale reset step by step, so your Keurig stays in top shape.
Key Takeaways
- Descaling your Keurig is essential to keep it running smoothly and to make tasty coffee.
- You should descale your Keurig every three to six months, depending on how often you use it.
- Signs that your Keurig needs descaling include slower brewing times and strange tastes in your coffee.
- Not descaling your Keurig can lead to clogs, poor performance, and even machine damage.
- Descaling is different from regular cleaning; it specifically removes mineral buildup inside the machine.
- Vinegar and Keurig’s own descaling solution are both effective for descaling, but each has its pros and cons.
- Some Keurig models have an automatic descale reset feature, making the process easier.
- Regular maintenance, like using filtered water and cleaning removable parts, can extend the life of your Keurig.
Understanding the Importance of Keurig Descale Reset
Why Descaling is Necessary for Your Keurig
Descaling your Keurig is crucial to remove any calcium deposits and built-up residue. These deposits can affect the taste of your coffee and the performance of your machine. Regular descaling ensures your Keurig brews efficiently and your coffee tastes great.
How Often Should You Descale Your Keurig
You should descale your Keurig every three to six months. This timeline depends on your water’s hardness and how often you use the machine. Using bottled or spring water can help reduce mineral buildup.
Signs That Your Keurig Needs Descaling
Common signs that your Keurig needs descaling include slower brewing times, unusual noises, and the “Descale” light turning on. If you notice any of these signs, it’s time to descale your machine.
Impact of Not Descaling Your Keurig
Not descaling your Keurig can lead to several issues, such as poor coffee taste, longer brewing times, and potential damage to the machine.
Over time, the buildup can clog the internal components, leading to costly repairs or replacements.
Difference Between Descaling and Cleaning
Descaling specifically targets mineral buildup inside the machine, while cleaning involves removing coffee grounds and other residues from the exterior and removable parts. Both processes are essential for maintaining your Keurig.
Common Myths About Keurig Descale Reset
There are several myths about descaling, such as the belief that using vinegar can damage your Keurig. In reality, vinegar is an effective and safe descaling solution when used correctly.
Another myth is that descaling is unnecessary if you use filtered water, but even filtered water can contain minerals that lead to buildup.
Also Read: Keurig Descale Light Won’t Turn Off
Preparing Your Keurig for Descale Reset
Before you start the descaling process, it’s important to prepare your Keurig machine properly. Follow these steps to ensure a smooth and effective descaling experience.
Using Vinegar for Keurig Descale Reset
Why Vinegar is Effective for Descaling
Vinegar is a popular choice for descaling because it is both affordable and effective. The acidity in vinegar helps break down mineral buildup inside your Keurig, ensuring it runs smoothly. Many users find this method easier to use than commercial solutions.
How to Mix the Vinegar Solution
To create the vinegar solution, mix equal parts of distilled white vinegar and water. This mixture is strong enough to remove the scale but gentle enough to avoid damaging your machine.
Filling the Water Reservoir with Vinegar Solution
Pour the vinegar solution into the water reservoir until it reaches the maximum fill line. Make sure the reservoir is clean before adding the solution.
Running the Descale Cycle with Vinegar
- Turn on your Keurig and place a large mug on the drip tray.
- Start the brew cycle without inserting a K-Cup. Let the machine dispense the vinegar solution into the mug while in descale mode.
- Repeat this process until the reservoir is empty.
- Allow the machine to sit for 30 minutes to let the vinegar work inside.
Rinsing the Keurig After Vinegar Descaling
After the descaling process, it’s crucial to rinse your Keurig thoroughly. Fill the reservoir with fresh water and run multiple brew cycles until the water runs clear. This step ensures no vinegar residue remains.
Safety Tips When Using Vinegar
- Always use distilled white vinegar to avoid any additional impurities.
- Handle the hot vinegar solution with care to prevent burns.
- Ensure the area is well-ventilated to avoid inhaling vinegar fumes.
Using Keurig Descaling Solution
Benefits of Using Keurig Descaling Solution
Using the Keurig® Descaling Solution is highly recommended because it is specifically designed for Keurig machines.
This solution effectively removes buildup and helps maintain the functionality of your coffee maker. Unlike other solutions, it ensures that your machine runs smoothly and lasts longer.
How to Use Keurig Descaling Solution
To use the Keurig® Descaling Solution, follow these steps:
- Power off your Keurig machine and empty the water reservoir.
- Pour the entire bottle of Keurig® Descaling Solution into the reservoir.
- Fill the empty bottle with water and add it to the reservoir.
- Power on the machine, place a large ceramic mug and perform a cleansing brew using the 10oz. brew size.
- Pour the contents of the mug into the sink.
- Repeat the process until the “add water” light comes on.
- Let the brewer sit for 30 minutes with the power on.
- Rinse the reservoir thoroughly.
- Fill the reservoir with fresh water and perform at least 12 cleansing brews.
Filling the Reservoir with Descaling Solution
When filling the reservoir, make sure to pour the entire bottle of Keurig® Descaling Solution first. Then, fill the empty bottle with water and add it to the reservoir. This ensures the solution is properly diluted and safe for your machine before you reset a Keurig.
Running the Descale Cycle with Keurig Solution
After filling the reservoir, run the descale cycle by performing a cleansing brew. Use a large ceramic mug and select the 10oz. brew size.
Repeat this process until the “add water” light comes on. This helps to clean the internal components of your Keurig machine thoroughly.
Rinsing the Machine After Descaling
Once the descale cycle is complete, rinse the water reservoir thoroughly. Fill it with fresh water and perform at least 12 cleansing brews. This ensures that any remaining descaling solution is completely removed from the machine.
Comparing Vinegar and Keurig Descaling Solution
While vinegar is a common home remedy for descaling, the Keurig® Descaling Solution is specifically formulated for Keurig machines.
It is more effective in removing buildup and does not leave a strong odor. Additionally, using the Keurig® Descaling Solution ensures that your machine’s warranty remains valid.
For complete instructions for descaling your specific Keurig coffee maker, visit the support page of the Keurig website. If you have any questions or issues, the support page provides detailed guidance and troubleshooting tips.
Also Read: Keurig Add Water Light Not Working
Manual Descale Reset for Different Keurig Models
Keurig 1.0 Descale Reset Instructions
To reset your Keurig 1.0, start by unplugging the machine and removing the water reservoir. Empty any remaining water and leave it unplugged for about 10 minutes.
This helps reset the internal computer to its factory settings. Ensure the K-Cup holder is empty before performing this step.
Keurig 2.0 Descale Reset Instructions
For the Keurig 2.0, unplug the machine and remove the water reservoir. After emptying it, leave the machine unplugged for 10 minutes. Plug it back in and press the 8 and 12-oz buttons simultaneously, then hit the K button.
Allow the machine to run a water cycle only, then dump the water. Repeat until the descale light goes away.
Keurig K-Classic Descale Reset Instructions
Unplug your Keurig K-Classic and remove the water reservoir. Empty it and leave the machine unplugged for 10 minutes.
Plug it back in and press the 6 or 8-oz buttons for 3 seconds, then press the “Brew” button. Dispose of any dirty water that comes out. Repeat this process until the “Add Water” light flashes.
Keurig K-Elite Descale Reset Instructions
To reset the Keurig K-Elite, unplug the machine and remove the water reservoir. Empty it and leave the machine unplugged for 10 minutes. Plug it back in and press the 8 and 12-oz buttons together, then wait for the K light to come on.
Instead of selecting a cup size, hit the K button. Allow the machine to run a water cycle only, then dump the water. Repeat until the descale light goes away.
Keurig K-Supreme Descale Reset Instructions
For the Keurig K-Supreme, unplug the machine and remove the water reservoir. Empty it and leave the machine unplugged for 10 minutes. Plug it back in and press the left and right arrows simultaneously to open the menu.
Press the right arrow until you reach the “Factory Reset” option. Press the K button to confirm the reset. Unplug the machine for 10 seconds.
Keurig K-Mini Descale Reset Instructions
Unplug your Keurig K-Mini and remove the water reservoir. Empty it and leave the machine unplugged for 10 minutes.
Plug it back in and press the 6 or 8-oz buttons for 3 seconds, then press the “Brew” button. Dispose of any dirty water that comes out. Repeat this process until the “Add Water” light flashes.
Also Read: Why Your Keurig Is So Loud
Automatic Descale Reset for Keurig Models
Identifying Keurig Models with Automatic Reset
Some Keurig models come with an automatic descale reset feature. These include the K-Supreme Plus, K-Supreme Plus Smart, and K-Duo Plus. Automatic reset makes the descaling process easier and more efficient.
Steps to Activate Automatic Descale Reset
- Ensure your Keurig is plugged in and powered on.
- Fill the water reservoir with a descaling solution or a mixture of vinegar and water to descale the machine effectively.
- Place a large mug on the drip tray.
- Start the descale cycle by following the specific instructions for your model. For example, on the K-Supreme Plus, press the left and right arrows simultaneously to open the menu, then select the descale option.
- Allow the machine to run the entire cycle.
- Rinse the water reservoir thoroughly and run a few cycles with fresh water to remove any remaining solution.
Troubleshooting Automatic Reset Issues
If the descale light remains on after completing the cycle, it might indicate incomplete descaling.
Run another descale cycle to ensure all scale is removed. If the problem persists, consult the user manual or contact Keurig support.
Benefits of Automatic Descale Reset
- Convenience: No need to manually reset the machine.
- Efficiency: Ensures thorough descaling without user intervention.
- User-friendly: Simplifies the maintenance process, especially for those unfamiliar with descaling.
Comparing Manual and Automatic Descale Reset
| Feature | Manual Reset | Automatic Reset |
|---|---|---|
| User Effort | High | Low |
| Time Required | Variable | Fixed |
| Ease of Use | Moderate | High |
User Experiences with Automatic Descale Reset
Many users find the automatic descale reset feature to be a significant improvement. It reduces the hassle and ensures the machine is properly maintained.
However, some users have reported issues with the descale light not turning off, which can usually be resolved by running an additional cycle.
Also Read: Keurig Not Working After Cleaning with Vinegar
Troubleshooting Common Descale Reset Issues
Descale Light Won’t Turn Off
If your descale light stays on even after completing the descaling process, it can be frustrating. One common reason is not following the descaling steps correctly.
Make sure you use the right descaling solution and follow the instructions in the user manual to turn off the descale light. If the light still won’t turn off, try unplugging your Keurig for a few minutes and then plugging it back in.
Machine Not Brewing After Descaling
Sometimes, your Keurig might stop brewing after descaling. This could be due to a leftover descaling solution in the machine. Run a few cycles with just water to flush out any remaining solution.
If the problem persists, check if the water reservoir is properly seated and that there are no blockages in the water line.
Water Reservoir Issues
If your Keurig’s water reservoir isn’t working correctly, it might be due to improper placement or debris.
Remove the reservoir, clean it thoroughly, and make sure it’s seated correctly when you put it back. If the issue continues, inspect the reservoir for any cracks or damage.
Unusual Noises During Descaling
Hearing strange noises during the descaling process can be alarming. These noises are often caused by air bubbles or blockages in the water line.
To fix this, run a few cycles of water through the machine without a K-Cup. This should help clear any blockages and get rid of the air bubbles.
Error Messages on Keurig Display
Error messages on your Keurig display can be confusing. Refer to your user manual to understand what the error codes mean.
Common fixes include resetting the machine, checking the water reservoir, and ensuring there are no blockages. If the error persists, you may need to contact Keurig support for further assistance.
Contacting Keurig Support for Help
If you’ve tried all the troubleshooting steps and your Keurig still isn’t working, it might be time to contact Keurig support.
Have your machine’s model number and purchase date handy when you call. They can provide additional troubleshooting steps or let you know if your machine is covered under warranty.
Also Read: Keurig Not Pumping Water
Maintaining Your Keurig After Descale Reset
Regular Cleaning Tips
To keep your Keurig in top shape, make sure to clean it regularly. Wipe down the exterior with a damp cloth and clean the drip tray and K-Cup holder. This helps prevent buildup and keeps your coffee tasting fresh.
Using Filtered Water to Prevent Buildup
Using filtered water can help reduce mineral buildup in your Keurig. This not only improves the taste of your coffee but also extends the life of your machine.
Scheduling Regular Descale Resets
It’s important to schedule regular descale resets. Depending on your usage, you should descale your Keurig every 3 to 6 months. This ensures that your machine runs smoothly and efficiently.
Replacing Keurig Water Filters
Don’t forget to replace the water filters in your Keurig. These filters help remove impurities from the water, making your coffee taste better. Check your user manual for the recommended replacement schedule.
Storing Your Keurig Properly
When not in use, store your Keurig in a cool, dry place. Make sure to empty the water reservoir and clean the machine before storing it. This prevents mold and mildew from forming.
Signs You Need to Descale Again
If you notice that your coffee tastes off or your Keurig is taking longer to brew, it might be time to descale again. Other signs include unusual noises or the descale light coming on.
We recommend running plain water through your Keurig several times after descaling your machine to combat any leftover taste.
Alternative Methods for Descaling Your Keurig
Using Citric Acid for Descaling
Citric acid is a natural and effective way to descale your Keurig. It’s a great alternative if you prefer not to use vinegar or commercial solutions.
Simply mix one to two tablespoons of citric acid with a full tank of water and run the descale cycle to reset the coffee machine. This method is gentle on your machine and helps remove mineral buildup efficiently.
Descaling with Lemon Juice
Lemon juice is another natural option for descaling. The acidity in lemon juice can break down limescale and mineral deposits.
Fill the water reservoir with a mixture of half lemon juice and half water, then run the descale cycle. This method not only cleans your Keurig but also leaves a fresh scent.
Commercial Descaling Products
There are various commercial descaling products available that are specifically designed for Keurig machines. These products often contain a blend of acids that effectively remove buildup.
Follow the instructions on the product packaging for the best results. One popular option is the Roobi Keurig Compatible Descaling Solution & Cleaner.
Pros and Cons of Each Method
| Method | Pros | Cons |
|---|---|---|
| Citric Acid | Natural, gentle, effective | May require more frequent descaling |
| Lemon Juice | Natural, fresh scent | Can be sticky, may need thorough rinsing |
| Commercial Products | Specifically designed, highly effective | Can be more expensive, chemical-based |
User Reviews of Alternative Methods
Many users have found success with these alternative descaling methods. Some prefer natural options like citric acid and lemon juice for their eco-friendliness, while others appreciate the efficiency of commercial products. It’s important to choose a method that fits your needs and preferences.
Safety Precautions for Alternative Methods
When using any descaling method, always follow safety precautions. Wear gloves to protect your skin from acids, and ensure the area is well-ventilated while you prepare to reset a Keurig.
After descaling, run several rinse cycles to remove any residue from the machine. This ensures your Keurig is safe to use for brewing coffee again.
Also Read: Why Your Keurig Is Shutting Off While Brewing
Understanding Keurig’s Descale Indicator Light
What Triggers the Descale Indicator Light
The descale indicator light on your Keurig is a signal that there is a buildup of minerals inside the machine.
This buildup can clog the water flow, affecting the performance of your coffee maker. Regular descaling is essential to keep your Keurig running smoothly.
How to Reset the Descale Indicator Light
If the descale light remains on after you’ve descaled your machine, it suggests that the machine hasn’t been adequately rinsed following the descaling process.
To reset the light, press and hold the 8oz and 10oz buttons together for 3 seconds. This should turn off the light and reset the machine.
Common Misconceptions About the Indicator Light
Many users think that turning off the descale light is a sign of a malfunction. However, it’s simply a reminder to clean your machine. Ignoring this light can lead to more serious issues over time.
Steps to Take When the Light Stays On
- Ensure you’ve followed the descaling instructions properly.
- Run a rinse cycle with water only.
- Check for any blockages in the needles and clean them if necessary.
- If the light still stays on, repeat the descaling process.
Impact of Ignoring the Indicator Light
Ignoring the descale indicator light can lead to poor coffee quality and potential damage to your machine. Over time, the buildup of minerals can cause your Keurig to stop working altogether.
User Experiences with the Indicator Light
Many users have shared their experiences with the descale light. Some found that running multiple rinse cycles helped, while others had to perform a manual reset. Community forums are a great place to find tips and solutions from other Keurig owners.
Cleaning Other Parts of Your Keurig
Keeping your Keurig clean is essential for maintaining its performance and ensuring you get the best-tasting coffee. Here’s a step-by-step guide to cleaning various parts of your Keurig machine.
Extending the Life of Your Keurig
Importance of Regular Maintenance
Regular maintenance is key to keeping your Keurig in top shape. This simple regular maintenance can significantly extend the lifespan of your Keurig K-Mini, making it a reliable part of your daily routine for years to come. Regularly cleaning and descaling your machine prevents buildup and ensures smooth operation.
Best Practices for Daily Use
To get the most out of your Keurig, follow these daily practices:
- Always use fresh water.
- Empty the drip tray regularly.
- Avoid leaving used K-Cups in the machine.
- Wipe down the exterior daily.
Avoiding Common Mistakes
Avoid these common mistakes to keep your Keurig running smoothly:
- Don’t use distilled water; it can affect the taste and performance.
- Avoid using harsh chemicals for cleaning.
- Don’t ignore the descaling light.
When to Replace Your Keurig
Even with the best care, your Keurig will eventually need replacing. Signs that it’s time for a new machine include:
- Consistent brewing issues.
- Unusual noises that persist after cleaning.
- The machine is over 5 years old and frequently malfunctions.
User Tips for Longevity
Experienced users suggest these tips for a longer-lasting Keurig:
- Use filtered water to reduce mineral buildup.
- Perform a deep clean every 3-6 months.
- Store your Keurig in a cool, dry place when not in use.
Keurig Warranty Information
Keurig offers a limited warranty on their machines. It’s important to register your Keurig and keep the receipt.
The warranty typically covers defects in materials and workmanship for one year from the date of purchase. For more details, refer to the user manual or Keurig’s website.
User Experiences with Keurig Descale Reset
Common Challenges Faced by Users
Many users report that the descale light won’t turn off Even after completing the descaling process, ensure the descale light on Keurig is turned off. This can be frustrating and often requires multiple attempts to resolve.
Another common issue is the machine not brewing properly after descaling, which can be due to residual descaling solution or improper rinsing.
Success Stories from Keurig Owners
Despite the challenges, numerous users have shared their success stories. For instance, some found that using a combination of vinegar and water effectively removed all scale buildup. Others have praised the Keurig® Descaling Solution for its ease of use and effectiveness.
Tips from Experienced Users
Experienced users recommend running several rinse cycles after descaling to ensure all solution is flushed out. They also suggest using filtered water to prevent future scale buildup.
Additionally, regularly cleaning the machine’s exterior and components can help maintain its performance.
User Reviews of Descaling Solutions
Users have mixed reviews about different descaling solutions. While some prefer the natural approach of using vinegar, others find the Keurig® Descaling Solution more effective. Here’s a quick comparison:
| Solution | Pros | Cons |
|---|---|---|
| Vinegar | Natural, Inexpensive | Strong odor, May require more rinsing |
| Keurig® Descaling Solution | Easy to use, Effective | More expensive |
Comparing Experiences Across Models
User experiences can vary significantly across different Keurig models. For example, the K-Elite and K-Classic models are often praised for their straightforward descaling process. In contrast, some users of the K-Supreme have reported difficulties with the descale light.
Community Forums and Support Groups
Many users turn to community forums and support groups for advice and troubleshooting tips. These platforms can be invaluable for finding solutions to common problems and sharing experiences.
Whether you’re dealing with a stubborn descale light or looking for the best descaling method, these communities offer a wealth of knowledge.
Professional Cleaning Services for Keurig Machines
When to Consider Professional Cleaning
Sometimes, your Keurig might need more than just a regular descale. Professional cleaning services can be a good option if your machine has persistent issues or if you want to ensure a thorough cleaning.
Finding a Reliable Service Provider
Look for service providers with good reviews and a proven track record. You can check online reviews or ask for recommendations from friends who own Keurig machines.
Cost of Professional Keurig Cleaning
The cost of professional cleaning can vary. Typically, it ranges from $50 to $100, depending on the service provider and the extent of cleaning required.
What to Expect from Professional Cleaning
Professional cleaning services will usually include a deep clean of all parts of your Keurig, including the water reservoir, K-Cup holder, and needles. They may also use specialized tools and solutions to ensure your machine is spotless.
User Reviews of Professional Services
Many users have found professional cleaning services to be very effective. They often mention that their Keurig works like new after the service.
One user noted that the quick & clean [6-pack] Keurig cleaning pods were also recommended by the service provider for regular maintenance.
DIY vs Professional Cleaning
While DIY cleaning can be effective for regular maintenance, professional cleaning offers a more thorough solution.
If you have the time and budget, professional cleaning can extend the life of your Keurig and ensure it operates at its best.
Environmental Impact of Descaling Solutions
Eco-Friendly Descaling Solutions
Using eco-friendly descaling solutions can significantly reduce your environmental footprint. Natural options like vinegar and citric acid are biodegradable and non-toxic, making them safe for the environment. Commercial eco-friendly products are also available, often made from plant-based ingredients.
Disposing of Used Descaling Solutions
Proper disposal of used descaling solutions is crucial. Never pour them down the drain without diluting them first.
Instead, consider neutralizing the solution with baking soda before disposal. This helps to minimize any potential harm to aquatic life.
Impact of Vinegar on the Environment
Vinegar is a popular descaling agent due to its effectiveness and low environmental impact. It breaks down easily and does not leave harmful residues. However, it’s important to use it in moderation to avoid over-acidifying the water system.
Comparing the Environmental Impact of Different Solutions
| Descaling Solution | Biodegradable | Toxicity Level | Environmental Impact |
|---|---|---|---|
| Vinegar | Yes | Low | Minimal |
| Citric Acid | Yes | Low | Minimal |
| Commercial Eco-Friendly | Yes | Low | Minimal |
| Chemical Solutions | No | High | Significant |
User Tips for Eco-Friendly Descaling
- Opt for natural descaling agents like vinegar or citric acid.
- Always dilute chemical solutions before disposal.
- Follow manufacturer guidelines for eco-friendly products.
- Consider using a water filter to reduce the need for frequent descaling.
Keurig’s Commitment to Sustainability
Keurig is committed to sustainability and offers eco-friendly descaling solutions. They also provide guidelines for proper disposal and encourage the use of reusable K-Cups to reduce waste. By choosing Keurig’s products, you can contribute to a more sustainable future.
Understanding Keurig’s Warranty and Support
What’s Covered Under Keurig Warranty
Keurig offers a one-year warranty for their coffee makers. This warranty covers defects in materials or workmanship.
If your machine stops working due to a manufacturing issue, Keurig will repair or replace it at no cost to you. It’s important to keep your proof of purchase to make a warranty claim.
How to File a Warranty Claim
To file a warranty claim, you need to contact Keurig customer service. Have your machine’s model number and purchase date ready.
You can call their support line at 1-866-901-2739 for assistance. The agent will guide you through the process and let you know if your issue is covered under warranty.
Common Issues Covered by Warranty
The warranty typically covers problems like the machine not brewing, the descale light staying on, or the water reservoir not working.
However, it does not cover damage caused by misuse or normal wear and tear. Always refer to the user manual for proper usage instructions.
User Experiences with Keurig Support
Many users have shared positive experiences with Keurig’s customer service. They find the support team helpful and responsive. If you encounter any issues, don’t hesitate to reach out to them for help.
Tips for Dealing with Warranty Claims
When dealing with warranty claims, be clear and concise about the problem. Provide all necessary information, including your machine’s model and purchase date. Keeping a record of your communication with customer service can also be helpful.
Keurig’s Customer Service Contact Information
For any questions or support, you can reach Keurig customer service at 1-866-901-2739. They are available to assist you with troubleshooting, warranty claims, and other inquiries.
Advanced Tips for Keurig Descale Reset
Using a Timer for Descale Cycles
To ensure a thorough cleaning, consider using a timer for your descale cycles. Brew more than one cycle to flush all the Keurig’s components.
Set an empty cup on the drip tray, hold the 6 or 8-oz buttons for 3 seconds, then press the “Brew” button. Dispose of any dirty water that comes out. Repeat this process until the “Add Water” light flashes.
Combining Descaling with Deep Cleaning
For optimal results, combine descaling with a deep cleaning of your Keurig. Unplug the Keurig and remove and empty the reservoir. Check for any remaining K-Cups and clean the exterior of your Keurig.
This method works for many Keurig models, including the 2.0 and 1.0 brewers, K-Cafe, K-Elite, K-Classic, K-Duo, K-Slim, K-Mini, and K-Supreme.
Preventing Future Scale Buildup
To prevent future scale buildup, use bottled or spring water when using your Keurig. This helps avoid mineral buildup and keeps your machine running smoothly. Additionally, consider using Keurig’s Quick Clean pods weekly to keep your machine fresh.
Optimizing Keurig Settings for Longevity
Optimize your Keurig settings for longevity by regularly resetting the machine. For the K-Supreme Plus and Plus Smart, press the left and right arrows simultaneously to open the menu.
Press the right arrow until you reach the “Factory Reset” option. Press the K button to confirm the reset. Unplug the machine for 10 seconds.
User Hacks for Efficient Descaling
Reddit users have found success with a simple hack: unplug your Keurig and wait 10 seconds. Plug it back in and press the 8 and 12-oz buttons together, then wait for the K light to come on.
Instead of selecting a cup size, hit the K button. Allow the machine to run a water cycle only, then dump the water. Hit the K button again and repeat until the descale light goes away.
Expert Advice on Keurig Maintenance
Experts recommend running a rinse cycle with Keurig’s Quick Clean pods to turn off the light. These pods are recommended for weekly use to keep your machine fresh.
Continue brewing and dumping water until the “Add Water” light comes on. This ensures every component is properly flushed out and clean for your next use.
Comparing Keurig with Other Coffee Makers
When it comes to single-serve coffee makers, Keurig and Nespresso often top the list. Keurig machines are known for their ease of use and wide variety of K-Cup options.
On the other hand, Nespresso machines are praised for their high-quality espresso and sleek design. But how do these brands compare in other areas?
Descaling Keurig vs Other Brands
Descaling is a crucial maintenance task for any coffee maker. Keurig machines typically require descaling every three to six months, depending on usage. Nespresso machines also need regular descaling, but the process can be slightly different.
For instance, Nespresso often uses a specific descaling solution, while Keurig offers both a branded solution and the option to use vinegar.
User Experiences with Different Brands
User reviews often highlight the convenience of Keurig’s wide range of K-Cup flavors and the machine’s straightforward operation. Nespresso users frequently mention the superior taste of the coffee and the machine’s durability.
According to a recent review, the best single-serve coffee makers are Nespresso and Keurig. Other brands like Instant and Moccamaster also receive high marks for their performance.
Cost Comparison of Maintenance
Maintenance costs can add up over time. Keurig’s descaling solution is relatively affordable, and the option to use vinegar can save even more money.
Nespresso’s descaling kits are usually more expensive, but many users feel the quality justifies the cost.
Additionally, both brands offer subscription services for regular delivery of descaling solutions and other maintenance supplies.
Ease of Descaling Across Brands
Keurig machines are generally easy to descale, with clear instructions and a straightforward process.
Nespresso machines can be a bit more complex, often requiring specific steps and solutions. However, both brands aim to make the process as user-friendly as possible.
Longevity of Keurig vs Competitors
When it comes to longevity, both Keurig and Nespresso machines are built to last. Regular maintenance, including descaling, can significantly extend the life of these machines.
Users often report that their Nespresso machines last longer, but Keurig’s affordability and ease of use make it a strong competitor.
Which Coffee Maker is Best for You
Choosing the best coffee maker depends on your specific needs. If you value a wide variety of flavors and ease of use, Keurig might be the best choice. If you prefer high-quality espresso and a sleek design, Nespresso could be the way to go.
Other brands like Instant and Moccamaster also offer excellent options, so it’s worth considering all your choices before making a decision.
User Safety During Keurig Descale Reset
Handling Descaling Solutions Safely
When using descaling solutions, always read the instructions on the label. Wear gloves to protect your skin from any potential irritation. Make sure to work in a well-ventilated area to avoid inhaling any fumes.
Preventing Burns and Injuries
Before starting the descaling process, unplug your Keurig machine to avoid any electrical hazards.
Allow the machine to cool down completely to prevent burns. Be cautious when handling hot water during the descaling process.
Safe Disposal of Descaling Solutions
After descaling, dispose of the used solution properly and refill the water reservoir. Pour it down the sink with plenty of water to dilute it. Avoid pouring it on plants or soil as it may harm them.
Using Protective Gear
Wearing protective gear like gloves and safety glasses can help prevent accidents. This is especially important if you are using strong descaling agents.
First Aid Tips for Descaling Accidents
In case of skin contact with the descaling solution, rinse the affected area with plenty of water. If the solution gets into your eyes, flush them with water for at least 15 minutes and seek medical attention if irritation persists.
Keurig’s Safety Recommendations
Always follow the safety recommendations provided in your Keurig user manual. This will ensure that you perform the descaling process safely and effectively, allowing you to reset a Keurig afterward.
For more details, check the user manual that came with your machine or online to stay informed.
Keeping safe while resetting your Keurig after descaling is super important. Follow our easy steps to make sure you do it right. For more tips and tricks, visit the website.
Conclusion
Resetting your Keurig after descaling is an easy task that ensures your coffee machine stays in top shape and the descale light turns off.
By following the steps outlined in this guide, you can keep your machine running smoothly and enjoy delicious coffee every day.
Remember, regular maintenance is key to extending the life of your Keurig. So, take a few minutes to descale and reset your machine as needed. Happy brewing!
Frequently Asked Questions
Why is descaling necessary for my Keurig?
Descaling removes mineral buildup inside your Keurig, which can affect the taste of your coffee and the machine’s performance.
How often should I descale my Keurig?
It’s recommended to descale your Keurig every 3 to 6 months, depending on how often you use it.
What are the signs that my Keurig needs descaling?
Common signs include slower brewing, unusual noises, and your coffee not tasting as good as it used to.
What happens if I don’t descale my Keurig?
Not descaling can lead to mineral buildup, which can clog your machine and affect the taste of your coffee.
What’s the difference between descaling and cleaning my Keurig?
Descaling removes mineral deposits, while cleaning focuses on removing coffee residue and other debris.
Can I use vinegar to descale my Keurig?
Yes, vinegar is an effective and affordable option for descaling your Keurig.
How do I prepare my Keurig for descaling?
Unplug the machine, remove and empty the water reservoir, and check for any remaining K-Cups. Also, clean the exterior and gather your descaling supplies.
What should I do if the descale light won’t turn off?
Try running another descale cycle and make sure you follow the instructions carefully. If it still won’t turn off, consult the user manual or contact Keurig support.
Is there a difference between using vinegar and Keurig’s descaling solution?
Both are effective, but Keurig’s descaling solution is specifically formulated for their machines and might work better.
How do I reset the descale indicator light on my Keurig?
The process can vary by model, but generally, you need to complete a descale cycle and then follow the reset instructions in the user manual.
Can I use other descaling methods besides vinegar?
Yes, you can use citric acid, lemon juice, or commercial descaling products. Each method has its pros and cons.
What safety precautions should I take when descaling my Keurig?
Always unplug the machine before starting, use gloves if needed, and follow the instructions for the descaling solution you’re using.

