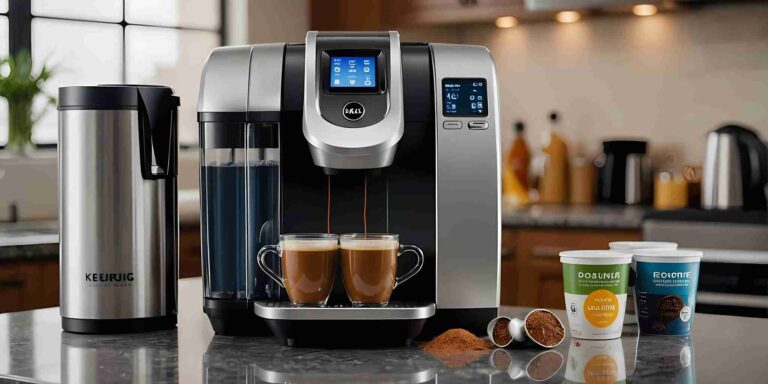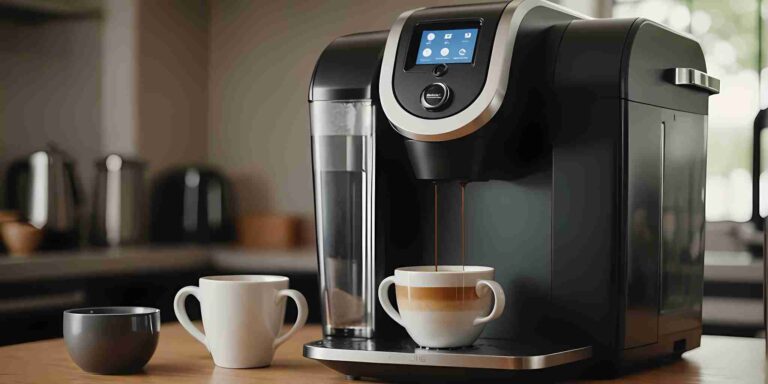
How to Fix Your Keurig Not Pumping Water: Step-by-Step Guide!
Is your Keurig not pumping water? Don’t worry; you’re not alone. This common issue can be fixed with some simple troubleshooting steps. In this guide, we’ll walk you through the most common reasons your Keurig might not be working and how to get it back to brewing that perfect cup of coffee.
Key Takeaways
- Mineral buildup in the water lines can stop your Keurig from pumping water. Regular descaling can help prevent this.
- Air bubbles can block the pump. Shaking the machine or flipping it upside down can help remove these bubbles.
- A faulty water pump might need to be replaced if other troubleshooting steps don’t work.
- Regular cleaning of the water reservoir and filter can keep your Keurig running smoothly.
- If all else fails, contacting Keurig customer service can provide additional support and information about warranties.
Common Reasons Your Keurig Is Not Pumping Water
If your Keurig isn’t pumping water, it can be frustrating. Understanding the common reasons behind this issue can help you fix it quickly. Here are some typical causes:
Mineral Buildup in the Water Lines
Over time, minerals from your water can build up inside the Keurig’s water lines. This mineral buildup can block the flow of water, making it hard for the machine to pump. Regular descaling can help prevent this problem.
Air Bubbles Blocking the Pump
Sometimes, air bubbles can get trapped in the water lines, stopping the water from flowing. This can happen if the machine hasn’t been used for a while or if the water reservoir was recently refilled. Shaking the machine gently can help remove these air bubbles.
Faulty Water Pump
A malfunctioning pump can cause the Keurig to stop working. If you hear strange noises like grinding or sputtering, the pump might be the issue. In such cases, you may need to replace the pump to get your Keurig working again.
How to Descale Your Keurig
Descaling your Keurig is essential to keep it running smoothly and to ensure your coffee tastes great.
Over time, mineral deposits can build up in the water lines, affecting the machine’s performance. Here’s how to descale your Keurig effectively.
Also Read: Troubleshooting Your Keurig
Cleaning the Water Reservoir
Removing and Rinsing the Reservoir
First, take out the water reservoir from your Keurig. Rinse it thoroughly with warm water to remove any loose debris. This step is crucial to ensure that no dirt or particles are left behind.
Cleaning with a Vinegar Solution
Next, fill the reservoir halfway with a mixture of equal parts water and vinegar. Let it sit for about 30 minutes.
This helps to break down any mineral buildup inside. After soaking, rinse the reservoir well to remove the vinegar taste.
Ensuring Proper Placement
Finally, make sure to place the reservoir back correctly. The ‘tall’ end should go ‘up’ when you reinstall it.
Proper placement is key to avoid any issues with the water flow. If the reservoir isn’t seated properly, your Keurig might not work as expected.
Checking the Water Filter
Soaking the Filter in Vinegar Solution
To start, remove the water filter from your Keurig. Place it in a bowl filled with a mixture of vinegar and water.
Let it soak for about 30 minutes. This helps to break down any mineral buildup that might be clogging the filter.
Rinsing the Filter
After soaking, rinse the filter thoroughly under running water. Make sure to remove all traces of vinegar. Rinsing the filter well ensures that no vinegar taste remains in your coffee.
Replacing the Filter
If your filter is old or damaged, it might be time to replace it. Check your Keurig’s manual for the correct filter type.
Regularly replacing the filter helps maintain the machine’s performance and ensures you get the best-tasting coffee.
Also Read: Why Your Keurig Is Shutting Off While Brewing
Fixing Air Bubbles in the Water Lines
Air bubbles in the water lines can stop your Keurig from working right. Here are some easy steps to fix this issue.
Inspecting the K-Cup Holder and Needle
Removing the Pod Holder
First, you need to remove the pod holder from your Keurig. This part can often get clogged with coffee grounds, which can lead to sputtering and inconsistent brews.
To do this, lift the handle and carefully take out the pod holder. Make sure to detach the funnel as well.
Cleaning the Exit Needle
The exit needle is located at the bottom of the K-Cup pod holder. This needle can get blocked with coffee grounds, causing your Keurig to not pump water properly.
Use a straightened paperclip to gently clean out any debris from the needle. Be careful not to damage the needle while doing this.
Reassembling the Pod Holder
After cleaning, reassemble the pod holder by attaching the funnel back to it. Place the pod holder back into the Keurig.
Ensure everything is securely in place before you start brewing again. This will help the pump operate as smoothly as before.
Addressing Error Messages
Keurig machines can sometimes display error messages that can be confusing. Here’s how to address some of the most common ones.
“More Water Please” Error
This error usually means that your Keurig is not detecting enough water in the reservoir. First, remove the water tank and empty any remaining water.
Refill it to the recommended level and place it back. If the error persists, clean the tank with a soft cloth and ensure it is seated properly.
“Prime Error” Indicator
A “Prime Error” message indicates that the system is not full of water and has to have the air removed. To fix this, remove the water reservoir, empty it, and then refill it.
Make sure the tank is placed correctly. If the problem continues, try using a different type of water, as distilled water can sometimes cause issues.
Resetting the Machine
If your Keurig is still not working correctly, you might need to reset it. Unplug the machine for a few minutes and then plug it back in. This can often clear minor issues and get your Keurig back to normal operation.
Also Read: Keurig Not Working After Cleaning with Vinegar
When to Replace the Water Pump
Signs of a Faulty Pump
If your Keurig isn’t pumping water, it might be due to a broken water pump. Listen for unusual sounds like grinding, sputtering, or whining.
These noises often mean the pump is failing. Also, if none of the other fixes work, it’s likely time to replace the pump.
Purchasing a Replacement Pump
When buying a new pump, make sure it fits your Keurig model. The flo-jet water pump kit by Keurig® is a good option. It comes with a universal wand and 20 feet of tubing, making it versatile for different setups.
Installing the New Pump
- Unplug your Keurig and remove any water from the reservoir.
- Follow the manufacturer’s instructions to take out the old pump. This usually involves removing screws and disconnecting tubing.
- Install the new pump by connecting the tubing and securing it with screws.
- Plug in your Keurig and run a water cycle to ensure everything works correctly.
Maintaining Your Keurig for Optimal Performance
To keep your Keurig running smoothly and ensure you get the best coffee every time, regular maintenance is key. Here are some tips to help you maintain your machine effectively.
Regular Cleaning Schedule
It’s past time you cleaned your Keurig. Start by unplugging the machine and removing all removable parts. Clean these parts with mild soap and warm water.
For the machine itself, gently wipe down the exterior with a damp cloth. Avoid using harsh chemicals as they can damage the machine.
Also, make sure to clean the needle that punctures the K-cup, as it can become clogged and cause brewing issues.
Using the Right Type of Water
Using the right type of water can make a big difference in your coffee’s taste and your machine’s longevity. It’s best to use filtered or spring water instead of tap water to reduce mineral buildup.
Always ensure the water reservoir is filled with fresh water to avoid any off flavors in your coffee.
Storing Your Keurig Properly
Proper storage of your Keurig and its parts is essential for maintaining its performance. Always make sure the water reservoir is securely in place before brewing.
Store all removable parts in a clean, safe place where they are easily accessible. This will help keep your machine running smoothly and extend its lifespan.
Also Read: Why Your Keurig Is So Loud
Contacting Keurig Customer Service
If your Keurig is still not working after trying all the troubleshooting steps, it might be time to reach out to Keurig customer service.
Contacting customer service should be done as soon as possible to get your machine back in working order quickly and efficiently.
If you need help with your Keurig, don’t hesitate to reach out to their customer service. They can guide you through more troubleshooting steps or let you know if your machine can be fixed or replaced under warranty.
Conclusion
Fixing your Keurig when it’s not pumping water can seem tricky, but with the right steps, it’s totally doable. Regular maintenance, like descaling and cleaning the water filter, can prevent most issues.
If your Keurig still isn’t working after trying these fixes, it might be time to contact customer service or consider a replacement. With a little effort, you’ll be back to enjoying your favorite coffee in no time.
Frequently Asked Questions
Why is my Keurig not pumping water?
Your Keurig may not pump water due to mineral buildup, air bubbles in the water lines, or a faulty water pump.
How often should I descale my Keurig?
You should descale your Keurig every 3 to 6 months to keep it running smoothly and to prevent mineral buildup.
Can I use vinegar to clean my Keurig?
Yes, you can use a mixture of equal parts water and white vinegar to descale and clean your Keurig.
What should I do if my Keurig shows a ‘More Water Please’ error?
Try removing and cleaning the water reservoir, then refilling it to the recommended level. If the error persists, the machine might not be detecting the water level correctly.
How do I fix air bubbles in the water lines of my Keurig?
You can try shaking the machine gently, flipping it upside down, or running a water-only brew cycle to remove air bubbles.
How can I clean the needle in my Keurig?
Remove the pod holder and use a straightened paper clip to clean the exit needle. Be careful not to damage the needle.
When should I replace the water pump in my Keurig?
If your Keurig is making unusual noises or still not pumping water after troubleshooting, it might be time to replace the water pump.
How can I contact Keurig customer service?
You can reach Keurig customer service at 1-866-901-2739 between 7 am and 10 pm EST, 7 days a week.
Also Read: