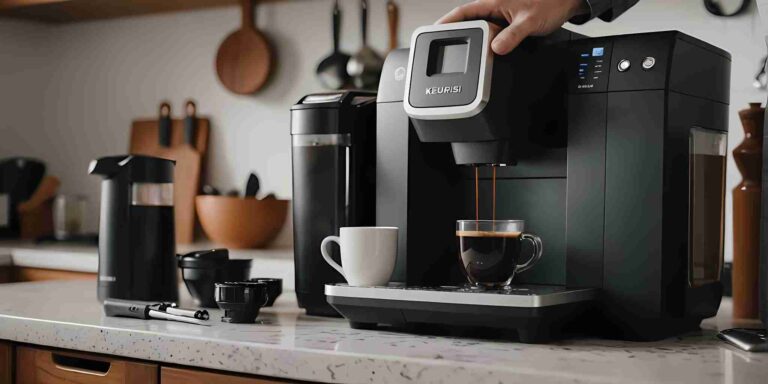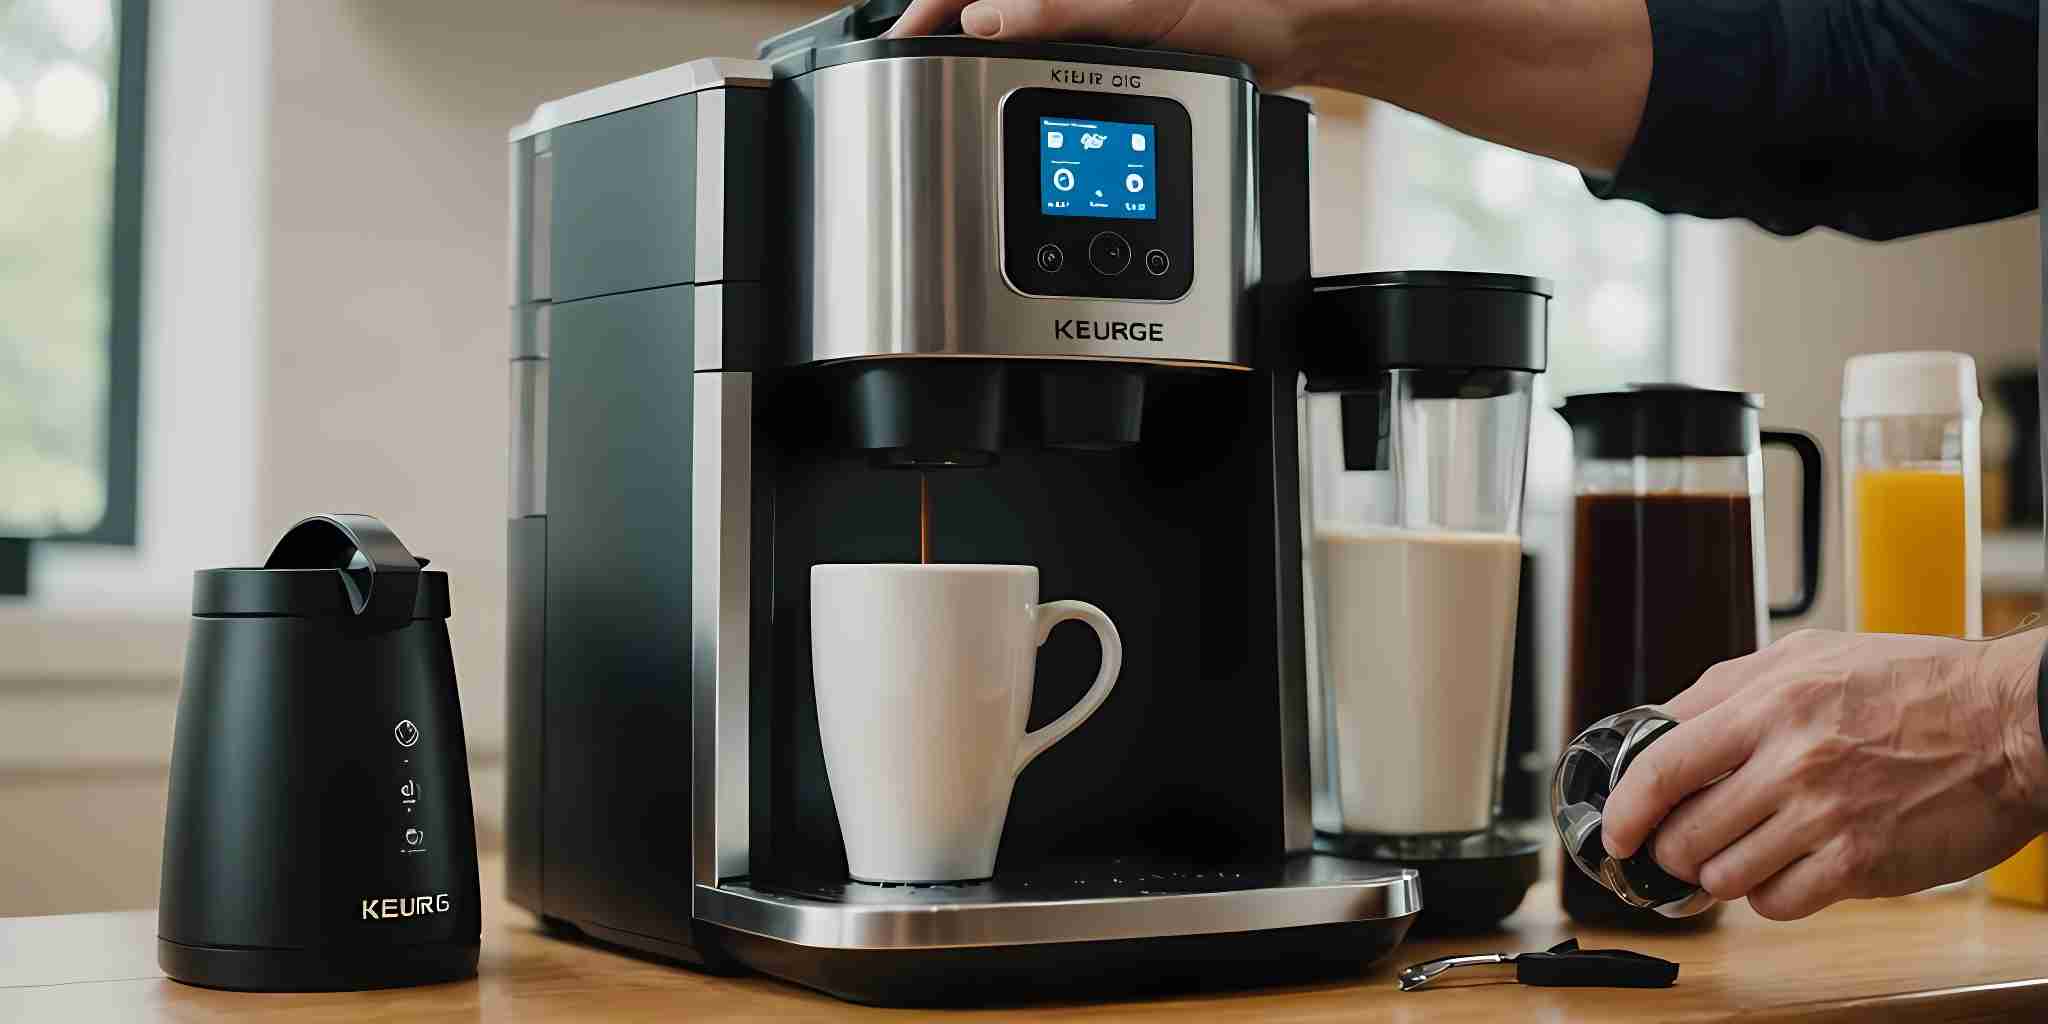
How to Fix a Keurig Not Working After Cleaning with Vinegar?
Cleaning your Keurig with vinegar is a great way to maintain it, but sometimes the machine stops working afterward. Don’t worry; this is a common issue with simple fixes. This guide will help you troubleshoot and get your Keurig back to making delicious coffee.
Key Takeaways
- Always rinse your Keurig thoroughly after cleaning with vinegar to avoid residual vinegar affecting the taste and performance.
- Dislodged coffee grounds can clog the needle or other parts, so inspect and clean these areas carefully.
- Ensure the water reservoir is properly attached and free of any debris or blockages.
- Running multiple cycles with fresh water can help flush out any remaining vinegar or debris in the system.
- If basic troubleshooting doesn’t work, consider advanced techniques like checking the pump and heating elements or contacting customer support.
Common Issues After Cleaning a Keurig with Vinegar
Cleaning your Keurig with vinegar is a common method to keep it in good shape. However, sometimes it can lead to problems. Here are some common issues you might face:
Residual Vinegar in the System
After cleaning, residual vinegar can stay in the system. This can make your coffee taste sour and unpleasant. To fix this, run multiple cycles with fresh water to flush out any remaining vinegar.
Dislodged Coffee Grounds
Cleaning can sometimes dislodge coffee grounds, causing clogs. Check the K-Cup holder and the needle for any stuck grounds. Use a paperclip or toothpick to gently remove them.
Improper Water Reservoir Reattachment
If the water reservoir is not attached properly, your Keurig won’t work. Make sure it clicks into place securely. Double-check the connections to ensure everything is in the right spot.
Also Read: Keurig Descale Reset
Steps to Clean the Needle
Unplug and Disassemble
First, make sure to unplug your Keurig machine. This is important for your safety. Next, take apart the machine. Remove the water reservoir and any other removable parts. Be careful not to lose any small pieces.
Locate and Clean the Needle
Open the top part of the machine to find the needle. The needle is above the spot where the pod holder rests.
Use a paperclip to clear out any debris from the needle and the three small holes around it. This will help water flow properly.
Reassemble and Test
Put all the parts back together. Make sure everything is in the right place. Plug the machine back in and run a test brew with plain water. This will help flush out any remaining debris and ensure your Keurig is working correctly.
Cleaning the Water Reservoir
Remove and Empty the Reservoir
First, take out the water reservoir from your Keurig machine. Make sure to empty any remaining water. This step is crucial to ensure that no old water or debris is left inside.
Wash with Warm Soapy Water
Next, wash the reservoir with warm, soapy water. Use a soft cloth or sponge to scrub the inside gently.
Avoid using harsh chemicals as they can damage the plastic. This will help remove any leftover coffee grounds or mineral deposits.
Rinse and Dry Thoroughly
After washing, rinse the reservoir thoroughly with fresh water. Make sure no soap is left behind.
Finally, dry the reservoir completely before reattaching it to the machine. This step is important to prevent any water spots or mold from forming.
Also Read: Keurig Descale Light Won’t Turn Off
Flushing the Machine with Fresh Water
After cleaning your Keurig with vinegar, it’s crucial to flush out any remaining vinegar or debris. Follow these steps to ensure your machine is clean and ready to brew again.
Fill the Reservoir with Fresh Water
Start by filling the water reservoir with fresh water. This will help in removing any leftover vinegar from the system.
Run Multiple Brew Cycles
Place a large mug on the drip tray and turn on the Keurig. Select the largest cup size and run a brew cycle without inserting a K-cup.
Repeat this process until the water runs clear. This step is essential to ensure that no vinegar remains in the system.
Check for Clear Water
Finally, check the water in the mug. If the water is clear, your Keurig is ready to use. If not, continue running brew cycles until the water is free of any vinegar traces.
Addressing Clogs in the K-Cup Holder and Drip Tray
After cleaning your Keurig with vinegar, you might notice clogs in the K-Cup holder and drip tray. These clogs can affect your machine’s performance. Here’s how to address them:
Restoring Water Line Flow
Identify Blockages
If your Keurig isn’t working after cleaning with vinegar, the first step is to identify any blockages in the water line. Mineral buildup or debris can often clog the lines, preventing proper water flow.
A simple way to check is by using a baster pipette to force water through the connection where the water tank meets the water line. This can help dislodge any remaining limescale.
Use Compressed Air or Cleaning Tools
Once you’ve identified a blockage, you can use compressed air or other cleaning tools to clear it. For minor debris, a paper clip can be effective. Insert it into the needle and rotate to remove any obstructions.
If air is trapped in the water lines, shaking the machine slightly or turning it upside down can help release the air bubbles.
Test the Water Flow
After clearing any blockages, it’s crucial to test the water flow. Fill the reservoir with fresh water and run a brew cycle. If the water flows smoothly, your Keurig should be back to normal.
If not, repeat the steps or consider contacting Keurig customer support for further assistance.
Also Read: Keurig Add Water Light Not Working
Ensuring Proper Reassembly of Components
After cleaning your Keurig, it’s crucial to reassemble it correctly to ensure it works properly. Double-checking connections can save you a lot of trouble down the line.
Double-Check Connections
Make sure all parts are securely connected. This includes the water reservoir, K-Cup holder, and drip tray. If any part is loose, your Keurig might not function correctly.
Secure the Water Reservoir
The water reservoir should be seated securely in place with no gaps. If your Keurig displays a message to add more water despite the reservoir being full, this could be a sign that the reservoir is not properly positioned.
Test the Machine
Once everything is reassembled, run a test brew with plain water. This will help you ensure that all parts are correctly in place and that the machine is functioning as it should.
Advanced Troubleshooting Techniques
If basic fixes don’t solve your Keurig issues, it’s time to try some advanced troubleshooting techniques. These steps can help you identify and fix deeper problems with your machine.
Inspect the Pump and Heating Elements
First, make sure to unplug your Keurig for safety. To check the pump and heating elements, you’ll need to remove the bottom plate of the machine.
Look for any visible damage, like cracks or corrosion. If you find any issues, you may need to replace the damaged parts.
Reset the Keurig Machine
Sometimes, a simple reset can solve many problems. To reset your Keurig, turn it off and unplug it for a few minutes. Then, plug it back in and turn it on. This can help clear any minor glitches in the system.
Contact Keurig Customer Support
If you’ve tried everything and your Keurig still isn’t working, it might be time to contact Keurig customer support.
They can provide more specific advice and help you with any warranty issues. Don’t hesitate to reach out for professional help if needed.
Also Read: Why Your Keurig Is So Loud
Preventive Maintenance Tips
To keep your Keurig running smoothly and avoid future problems, regular maintenance is key. Here are some tips to help you maintain your machine effectively.
Regular Descaling
Descaling is a critical maintenance task that should be done every 3-6 months. This process helps to remove calcium build-up that can affect your Keurig’s performance. If you notice slow brewing, half-filled cups, or increased noise, it might be time to descale.
You can use a mixture of hot water, distilled white vinegar, and lemon juice, or opt for a commercial descaling solution designed for Keurig machines.
Using the Right Water
The type of water you use can greatly impact your Keurig’s longevity. Using distilled or bottled water instead of tap water can help prevent scale issues, especially in areas with hard water.
Hard water contains minerals that can build up and cause blockages, slower brewing times, and clogged needles.
Cleaning Internal Components
Regularly cleaning the internal components of your Keurig is essential. This includes running a cup of plain water through the machine after brewing sugary drinks like cocoa or chai.
Additionally, if you use reusable K-Cups, make sure to scrub them with soap and warm water after each use to prevent debris from entering the water line.
Refreshing Your Keurig After Vinegar Cleaning
After cleaning your Keurig with vinegar, it’s crucial to ensure that no vinegar remains in the system.
We recommend running plain water through your Keurig several times to combat any lingering vinegary taste. Follow these steps to refresh your machine:
Final Rinse with Fresh Water
Fill the water reservoir with fresh water. Place a large mug on the drip tray and run a brew cycle without inserting a K-cup.
Discard the water and repeat the process until the water runs clear. This step helps to remove any remaining vinegar from the system.
Test Brew with Plain Water
After flushing the machine, perform a test brew with plain water. This will help you check if there is any residual vinegar taste. If the water tastes clean, your Keurig is ready to use again.
Check for Any Remaining Issues
Finally, inspect your Keurig for any remaining issues. Ensure that all components are properly reassembled and that there are no blockages in the system. If you notice any problems, refer to the troubleshooting steps mentioned earlier in the article.
After cleaning your Keurig with vinegar, it’s crucial to refresh it properly to ensure it works smoothly.
Conclusion
In conclusion, while cleaning your Keurig with vinegar is an effective way to maintain its performance, it can sometimes lead to unexpected issues. If your Keurig stops working after a vinegar cleanse, don’t panic.
By following the troubleshooting steps outlined in this guide, such as cleaning the needle, washing the water reservoir, and running fresh water through the machine, you can often resolve the problem and get your coffee maker back in working order.
Regular maintenance and proper cleaning techniques are key to ensuring your Keurig continues to brew delicious coffee without any hiccups. Remember, a little care goes a long way in keeping your coffee machine in top shape.
Also Read: Keurig Not Pumping Water
Frequently Asked Questions
How do I force my Keurig out of descale mode?
To force your Keurig out of descale mode, you can try unplugging the machine for a few minutes and then plugging it back in. If that doesn’t work, refer to your user manual for specific instructions.
How do you reset a Keurig after descaling?
To reset a Keurig after descaling, unplug the machine and leave it unplugged for a few minutes. Then, plug it back in and turn it on. This should reset the machine.
How do I unclog my Keurig water line?
To unclog your Keurig water line, you can use a paperclip to clean out the needle. Additionally, running a few cycles of water through the machine without a K-Cup can help clear any blockages.
How can I remove residual vinegar from my Keurig?
To remove residual vinegar from your Keurig, fill the water reservoir with fresh water and run multiple brew cycles until the water runs clear and no vinegar smell remains.
How often should I descale my Keurig?
You should descale your Keurig every 3 to 6 months, depending on how often you use it and the hardness of your water.
Why does my Keurig taste like vinegar after cleaning?
If your Keurig tastes like vinegar after cleaning, it means there is still some vinegar residue in the machine. Run several cycles of fresh water through the machine to flush it out.
What should I do if my Keurig won’t brew after cleaning with vinegar?
If your Keurig won’t brew after cleaning with vinegar, check for clogs in the needle and water lines, ensure the water reservoir is properly attached, and run several water-only cycles to clear any remaining vinegar.
Can I use something other than vinegar to clean my Keurig?
Yes, you can use a Keurig descaling solution or a mixture of lemon juice and water as alternatives to vinegar for cleaning your machine.
Also Read: