How to Fix Your Keurig Add Water Light Not Working?
If your Keurig’s ‘Add Water’ light isn’t working, it can be frustrating and leave you without your much-needed coffee. This guide will help you understand why this happens and how to fix it. By following these steps, you can get your Keurig back to brewing your favorite drinks in no time.
Key Takeaways
- The ‘Add Water’ light on your Keurig is crucial for indicating when to refill the water reservoir, ensuring smooth operation.
- Common issues causing the light to malfunction include low water levels, clogged tubes or needles, and faulty sensors.
- Regular cleaning and descaling of your Keurig can prevent many of these issues from occurring.
- Using filtered water can reduce mineral buildup, which helps keep the machine running smoothly.
- If troubleshooting doesn’t work, consulting Keurig customer service can provide additional support and solutions.
Understanding the Keurig Add Water Light
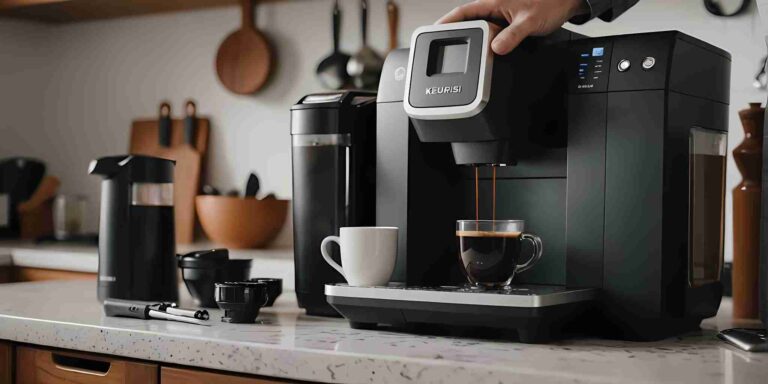
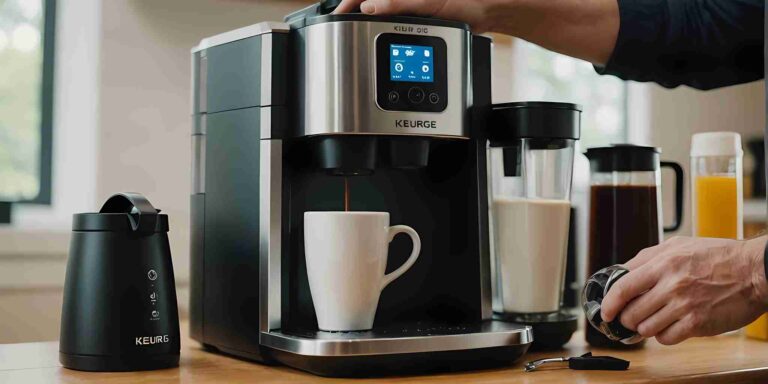
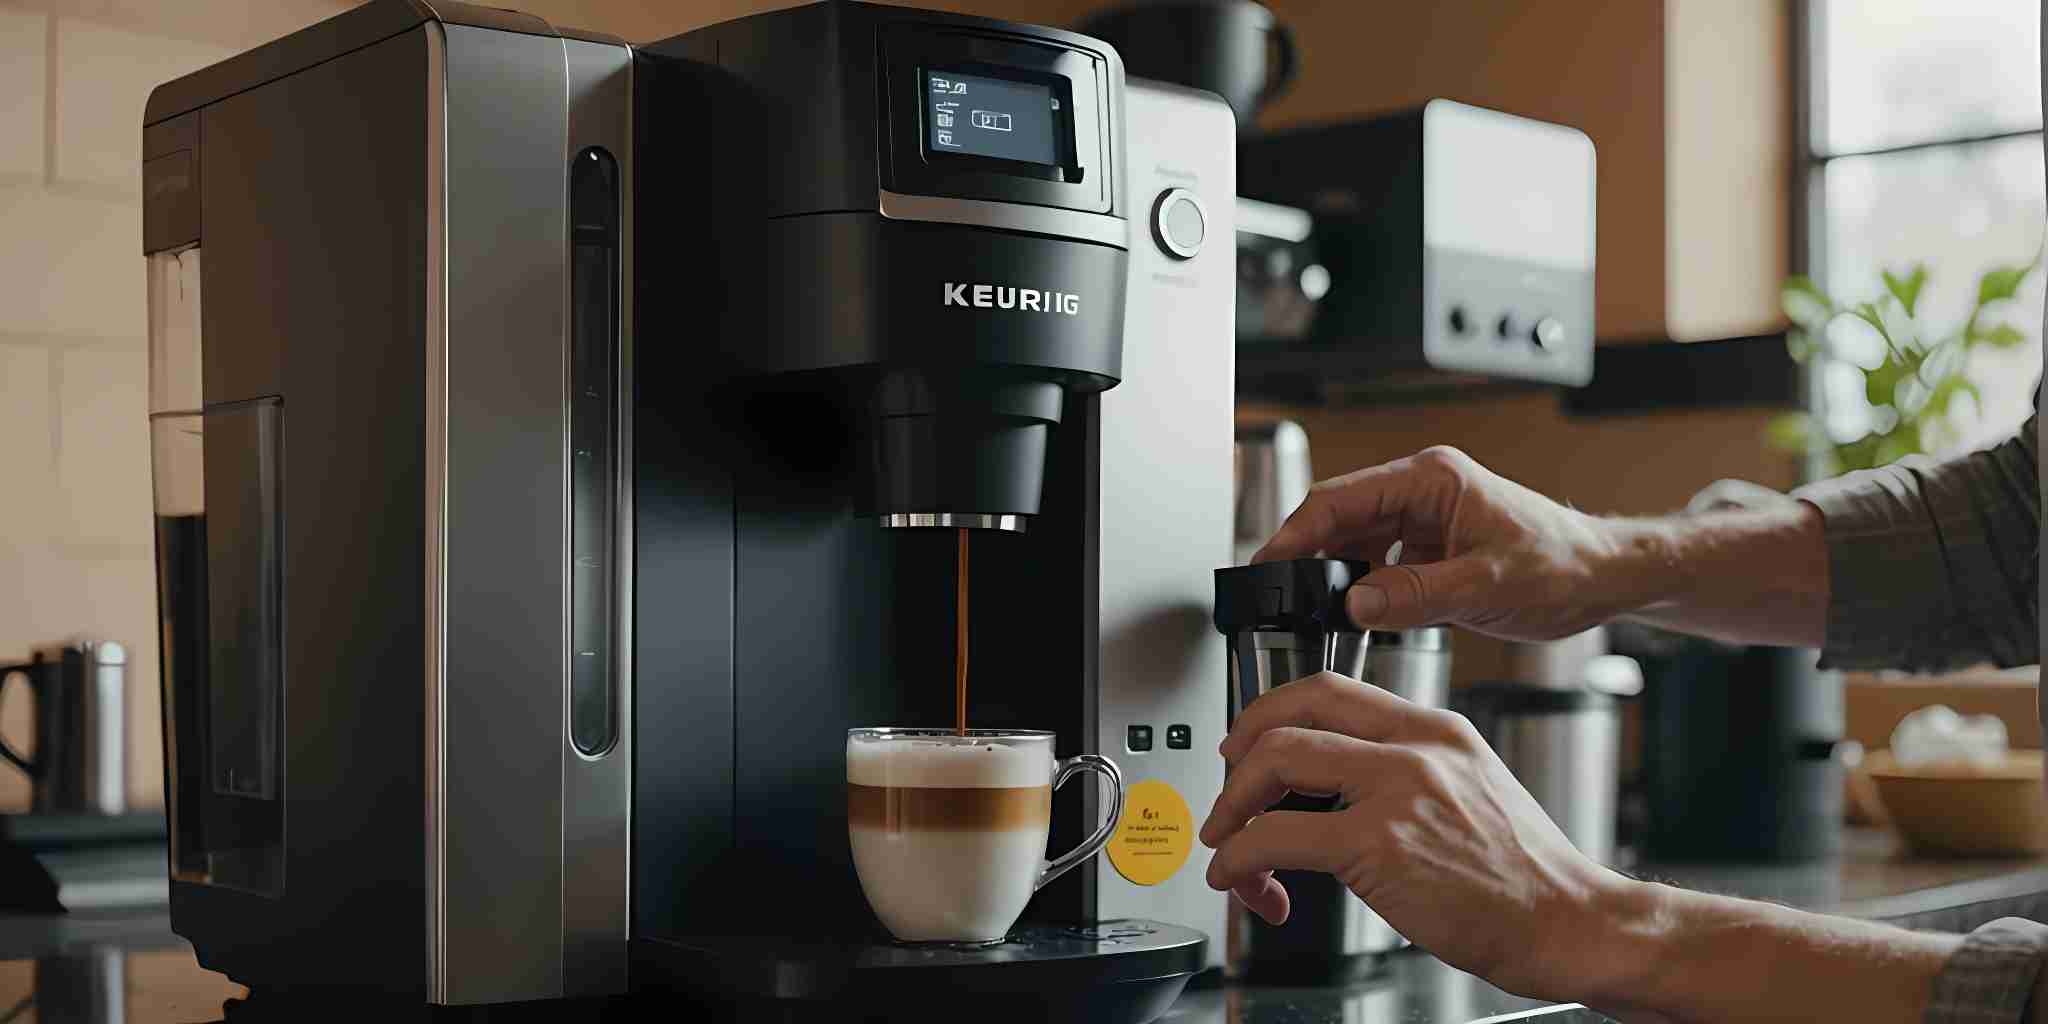
The Keurig Add Water light is a crucial feature that ensures your coffee maker runs smoothly. This light tells you when to add water to the reservoir, preventing interruptions in your brewing process and protecting the machine’s heating element from damage.
Common Causes for Keurig Add Water Light Malfunction
Understanding why the Add Water light on your Keurig isn’t working can help you fix the problem quickly. Here are some common causes:
Low Water Level in Reservoir
The most frequent reason for the Add Water light to come on is a low water level in the reservoir.
When the water level is low, the float mechanism sinks, triggering the light. Always check the water level first if you see the light.
Clogged Overflow Tube or Exit Needle
A clogged overflow tube or exit needle can also cause the Add Water light to malfunction. Debris like coffee grounds can block these parts, affecting water flow. If you notice water leaks or the light keeps flashing despite a full reservoir, check for blockages.
Faulty Water Sensor
Sometimes, the Add Water light might show an error even when the reservoir is full. This could mean the water sensor is faulty.
Issues with the flow meter or water level sensors can cause the machine to not detect the completed descaling process and get stuck.
Also Read: Keurig Descale Reset
Checking and Refilling the Water Reservoir
How to Check the Water Level
First, remove the water reservoir from your Keurig machine. Hold it up to the light to see the water level clearly.
Ensure the water level is above the minimum fill line to avoid any issues. If the water level is low, your Keurig might not function properly.
Steps to Refill the Reservoir
- Take off the reservoir lid.
- Fill the reservoir with fresh, filtered water up to the maximum fill line. Avoid using distilled or softened water as it can affect the machine’s performance.
- Replace the lid securely.
Ensuring Proper Reseating of the Reservoir
After refilling, place the reservoir back onto the Keurig machine. Make sure it clicks into place. If the reservoir is not seated correctly, the machine may not detect the water level properly. This can cause the “add water” light to stay on even if the reservoir is full.
Also Read: Keurig Descale Light Won’t Turn Off
Cleaning the Overflow Tube and Exit Needle
Identifying Blockages
One common issue with Keurig machines is blockages in the overflow tube or exit needle. These blockages can prevent water from flowing properly, causing the add water light to malfunction. To identify a blockage, look for any coffee grounds or debris around the needle or tube.
Tools Needed for Cleaning
To clean the overflow tube and exit needle, you will need a few simple tools:
- A paper clip or a small needle
- A small brush
- A cup of hot water
Steps to Clean the Overflow Tube and Exit Needle
- Turn off and unplug your Keurig to ensure safety.
- Remove the water reservoir and set it aside.
- Open the pod holder and locate the exit needle at the bottom.
- Use a paper clip to gently push through the hole in the exit needle to clear any blockages. Be careful not to damage the needle.
- For the overflow tube, use a small brush to clean out any debris. You can also run hot water through the tube to help clear it.
- Reassemble your Keurig and run a few cycles of water without a K-cup to ensure everything is clear.
By following these steps, you can keep your Keurig running smoothly and avoid issues with the add water light.
Resetting or Replacing the Water Sensor
Steps to Reset the Water Sensor
If your Keurig’s add water light is malfunctioning, resetting the water sensor might help. Follow these steps:
- Turn off and unplug your Keurig machine.
- Remove the water reservoir and empty it completely.
- Clean the sensor area gently with a soft cloth to ensure it’s free from any debris or film.
- Refill the reservoir with fresh water and place it back onto the machine.
- Plug in and turn on your Keurig. Check if the add water light is functioning correctly.
When to Replace the Water Sensor
If resetting the sensor doesn’t work, it might be time to replace it. Here are some signs that indicate a faulty water sensor:
- The add water light remains on even when the reservoir is full.
- The machine doesn’t recognize the water reservoir.
- The machine fails to brew despite having enough water.
Consulting Keurig Customer Service
If you’re unsure about replacing the sensor yourself, it’s best to consult Keurig customer service. They can provide guidance and may offer additional troubleshooting steps.
Check the water level sensor to ensure it’s clean and not obstructed before reaching out for help.
Also Read: Why Your Keurig Is So Loud
Preventive Measures to Avoid Add Water Light Issues
Taking preventive steps can save you from the hassle of dealing with a malfunctioning Keurig Add Water light. Here are some key measures to keep your machine running smoothly.
Regular Cleaning and Descaling
A major part of preventing Add Water light issues is regular cleaning and descaling of your Keurig machine.
Descale every three to six months to remove mineral deposits that can cause problems. Also, clean the exterior, water reservoir, drip tray, and pod holder weekly if you use your machine daily.
Using Filtered Water
Using filtered water is another effective preventive measure. Filtered water has fewer minerals than tap water, which means less buildup inside the machine. This can help prevent clogs that often lead to Add Water light malfunctions.
Inspecting and Replacing Parts as Needed
Regularly inspect and replace worn parts to avoid issues. Look out for leaks from the bottom of the machine, which may indicate that parts need inspection.
Regular maintenance includes checking and replacing tie straps and ensuring the check valve is working properly.
Using Filtered Water for Your Keurig
Benefits of Filtered Water
Using filtered water offers numerous benefits, from improving the taste and aroma of your coffee to prolonging your coffee maker’s lifespan.
Filtered water helps reduce mineral buildup, which can clog your machine and affect its performance.
Types of Water Filters
There are several types of water filters you can use with your Keurig:
- Charcoal Filters: These are commonly used in Keurig machines and help remove impurities and chlorine from the water.
- Reverse Osmosis Filters: These provide a higher level of filtration, removing a broader range of contaminants.
- Pitcher Filters: These are convenient and can be used to filter water before adding it to your Keurig.
How to Install a Water Filter
Installing a water filter in your Keurig is a simple process:
- Soak the Filter: Before installing, soak the new filter in water for about 5 minutes.
- Rinse the Filter: Rinse the filter under running water for 60 seconds.
- Insert the Filter: Open the filter holder and place the filter inside. Close the holder securely.
- Install in Reservoir: Place the filter holder into the water reservoir and push it down until it locks into place.
By following these steps, you can ensure that your Keurig uses clean, filtered water, enhancing both the taste of your coffee and the longevity of your machine.
Additional Resources and Support
We’ve covered a lot of ground, but remember, you’re not alone in this. There are plenty of additional resources and support options available to help you troubleshoot and resolve your Keurig K Duo machine issues.
Also Read: Keurig Not Working After Cleaning with Vinegar
Frequently Asked Questions About Keurig Add Water Light Issues
Why Does My Keurig Not Tell Me When to Add Water?
If your Keurig isn’t alerting you to add water, it might be because there’s still water in the Cold Water Reservoir.
Try lifting the handle to drain the water and see if the indicator starts working again. If the problem continues, turn off the machine and place a mug on the Drip Tray.
Why Is My Keurig Not Recognizing the Water Reservoir?
Your Keurig might not recognize the water reservoir due to the type of water you’re using or an issue with the water tank sending false signals. Try using a different type of water or inspect the water tank for any problems.
How Do I Reset My Keurig Water Sensor?
To reset your Keurig water sensor, remove the reservoir, shake it well, refill it to the max line, and then reseat it properly.
Wait for the “add water” indicator to stop flashing, then open and close the K-Cup compartment to complete the reset.
Why Won’t the Brew Light Come On My Keurig?
If the brew light on your Keurig won’t come on, the machine might need a reset. Turn off the machine, unplug it, and leave it unplugged for at least thirty minutes.
Also, check if the K-cup holder is properly closed. If the lights still don’t come on, consider cleaning or descaling the machine.
Having trouble with the ‘Add Water’ light on your Keurig? Don’t let it ruin your coffee routine! Our guide will help you quickly identify and fix the issue, so you can get back to enjoying your favorite brew.
Conclusion
Fixing the Add Water light issue on your Keurig doesn’t have to be a daunting task. By following the steps outlined in this guide, you can troubleshoot and resolve the problem efficiently.
Regular maintenance, such as cleaning and descaling, can prevent many common issues. Using filtered water and inspecting parts regularly can also help keep your machine running smoothly.
If you encounter persistent problems, don’t hesitate to reach out to Keurig customer service for additional support.
With a little effort and care, you can ensure your Keurig continues to brew your favorite coffee without any interruptions.
Also Read: Keurig Not Pumping Water
Frequently Asked Questions
Why doesn’t my Keurig tell me when to add water?
If your Keurig isn’t alerting you to add water, it might be because the water level sensor is malfunctioning. Try refilling the water reservoir and ensuring it is properly seated. If the problem persists, you may need to reset or replace the sensor.
Why isn’t my Keurig recognizing the water reservoir?
Your Keurig might not recognize the water reservoir if it isn’t seated correctly or if there is debris on the contacts. Remove the reservoir, clean the contacts, and reseat it. If that doesn’t work, the sensor might need to be reset or replaced.
How do I reset my Keurig water sensor?
To reset your Keurig water sensor, turn off the machine, unplug it, and remove the water reservoir. Wait for a few minutes, then plug the machine back in and turn it on. Refill and reseat the water reservoir properly.
Why won’t the brew light come on my Keurig?
If the brew light on your Keurig won’t come on, it might need a reset. Turn off the machine, unplug it, and wait for a few minutes before plugging it back in. Check if the K-cup holder is properly closed and clean the machine if needed.
What should I do if my Keurig’s add water light is still on after refilling?
If the add water light stays on after refilling, make sure the reservoir is seated correctly. Check for any blockages in the overflow tube or exit needle and clean them if necessary. If the problem continues, the water sensor may need to be reset or replaced.
How can I clean the overflow tube and exit needle on my Keurig?
To clean the overflow tube and exit needle, first remove the water reservoir. Use a paper clip or a soft brush to dislodge any coffee grounds or debris. Rinse the tube and needle with warm water and reassemble the machine.
When should I replace my Keurig water sensor?
You should consider replacing your Keurig water sensor if resetting it doesn’t fix the problem or if the machine continues to malfunction. Consult Keurig customer service for guidance before replacing any parts.
Can using filtered water prevent issues with my Keurig?
Yes, using filtered water can help prevent mineral buildup and other issues in your Keurig. Filtered water has fewer minerals than tap water, which can reduce the chances of clogs and improve the overall performance of your machine.
Also Read: